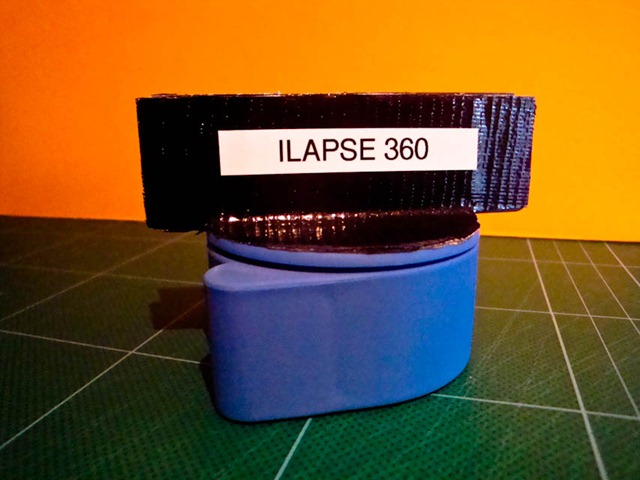
Introducing iLAPSE – the 360 degree iPhone timelapse rig. Easy to construct, harmless to pets, fun for all the family!
Here’s what you will need to build your own:
1) Kitchen timer – you’ll want one that lasts at least 60 minutes. it also must sit level on the table and ideally have a raised handle which you can glue some bits of plastic to so you can stand your phone on it. I got mine at a random kitchenware shop, but there’s one at Argos here which would do the job.
2) A credit card cut in half. Do yourself a favour and use a current one.
3) Glue. I used epoxy resin, but I’m sure superglue would work as well.
4) Duct tape, after all it’s not possible to make anything vaguely film/photography related without it. I used it to hold the plastic cards in place whilst the glue dried.
5) (Optional) Label printer to add your own corporate branding. All products must be branded these days, it’s the law.
6) Most important: The iTimelapse application for iPhone – you can get it here
7) iPhone. Duh.
ASSEMBLY INSTRUCTIONS:
1) Cut the credit card in half and breath a sigh of relief that you can no longer use it.Glue the halves to either side of the handle on top of the timer, using Duct tape to hold it in place whilst it dries.
2) VERY IMPORTANT: Wait for the glue to try. Don’t make the school boy error of being impatient and inadvertently gluing your iPhone to the timer. That would be bad unless you only ever want to use it for 360 degree timelapse panoramas in the future
INSTRUCTIONS FOR USE:
1) Fire up the iPhone timelapse app, set a decent interval – 1 frame per second will give you appropriately a 2 minute 30 second 360 degree panorama running at 24 frames a second for example.
2) Twist the timer around to 60 minutes to give you a full 360 panorama. For the very impatient you could try a shorter duration – 30 minutes for example. At this point you should also work out which way the timer revolves so you get the results you are looking for.
3) Insert the iPhone into the rig – note both landscape and portrait orientations are supported – see photographs below.
4) Start the iPhone timelapse application.
5) Wait. Or alternatively monkey around in front of the camera for added visual interest.
6) Render and be amazed at what you have created.
7) Post your video and send me a link to your creation here.
UPDATE: iTimelapse seems to be crash-tastic when running on the iPhone 4. I’d recommend you use Gorillacam until they fix it.
Right, I’m off to test mine, results soon.


